How to generate guest badges with QR code

Now you get your guest list ready, and want to create digital or print badges for them before the event. Here is one way to automate the process without mannually copy & paste each names.
Prepare: Install Figma & Plugin
- Download Figma
- Install Plugin : Google Sheets Sync
It is possible to import existing design (Illustrator) through SVG format. But for the purpose of this tutorial, we will recreate the in figma.
Step 1: Copy your guest list to Google sheets
Create a empty Google Sheet where the first row are headers. It should contain columns like name, title, company, etc. some of which will be used in the badge.

Note we have both a qr and qrcode column, the qr column has whatever unique value you want to use to fill the qrcode column that has the following formula: (C2 is qr column in this example file.)
= CONCATENATE("https://api.qrserver.com/v1/create-qr-code/?size=150x150&format=svg&data=",ENCODEURL(C2))
In this formula we are utilizing an API to generate the QR code SVG image for each guest.
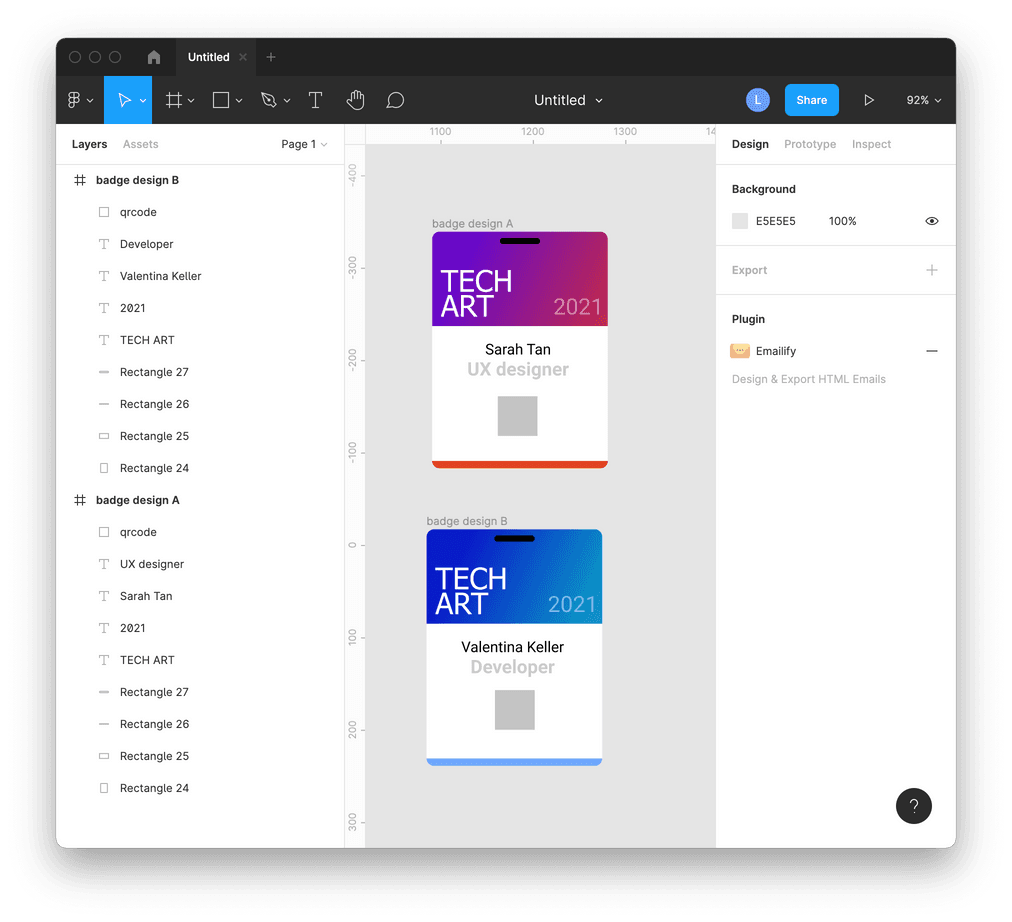
Step 2: Design badge in Figma
First, layout your badge design in Figma. Add a dummy square rectangle that we will automatically replace with QR code.
Here in the example, I created two badge designs to match the guest title. I will show you how next.
If you are considering printing your badges. Measure the physical sizes of the to be printed badge, and use the following unit conversion to get "point" sizes to use in Figma.
1 inch = 72 point
1 cm = 28.346 point
1 mm = 2.8346 point
Next, in the layer panel, we change layer names to match the headers in the guest list sheet by prefixing # with the exact column names. In this example, they are: #qr, #name, #title.
Then rename the frame to tpl=A and tpl=B. Select two components both, from context menu click "Create component".
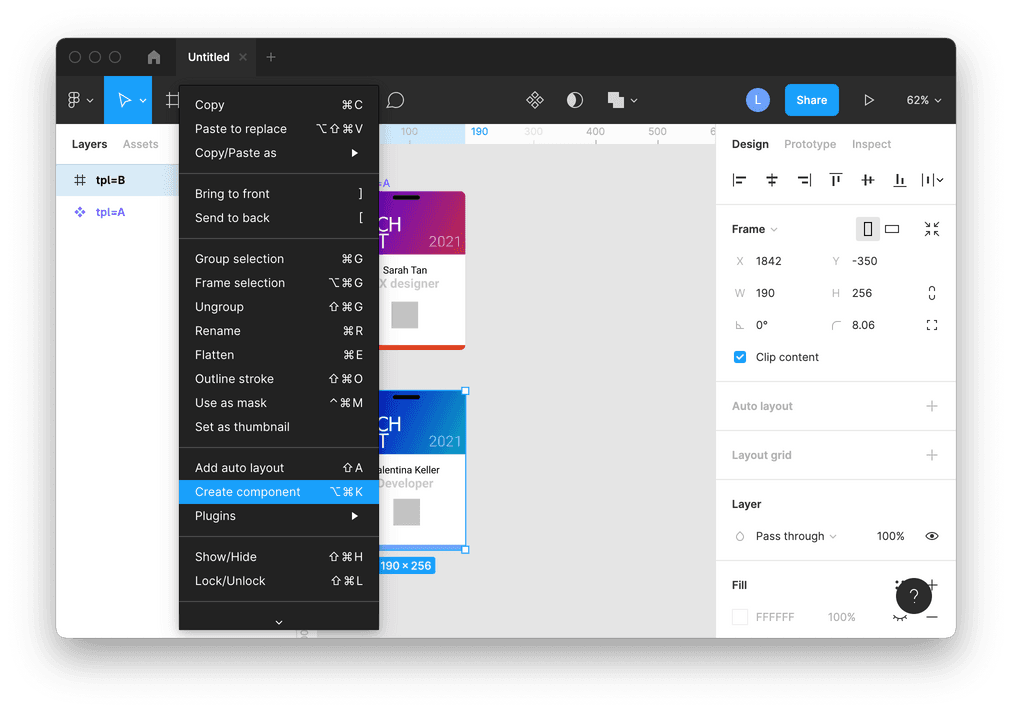
With them selected. click "Combine as Variants" in the right panel.
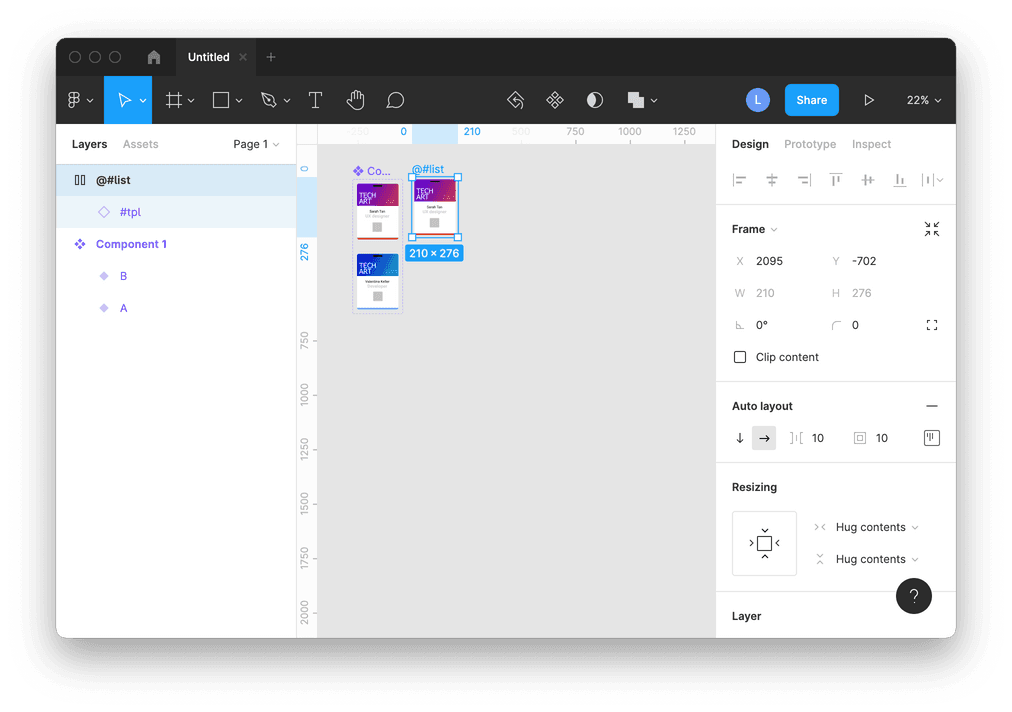
Click on an empty space, click Shift+I to open quick insert, select component we just created to create an instance of it (empty diamond icon). Rename the instance to #tpl. This will hint the plugin in step 3 to match value of column tpl to the tpl variant of the component.
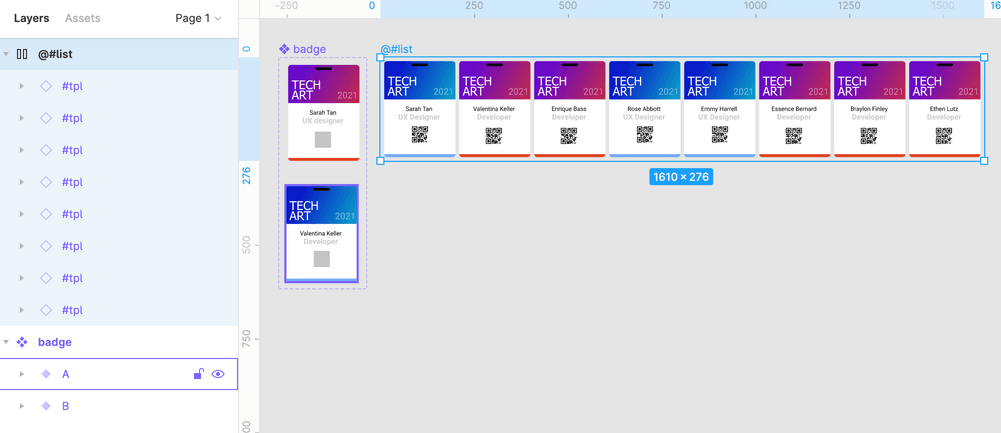
Click Shift+A to Add autolayout layer from the instance. Rename the autolayout to @#list. This will hint the plugin in step 3, that in this auto layout list, we will use the first instance as stencil to generate all the badges.
Step 3: Sync guests to badges
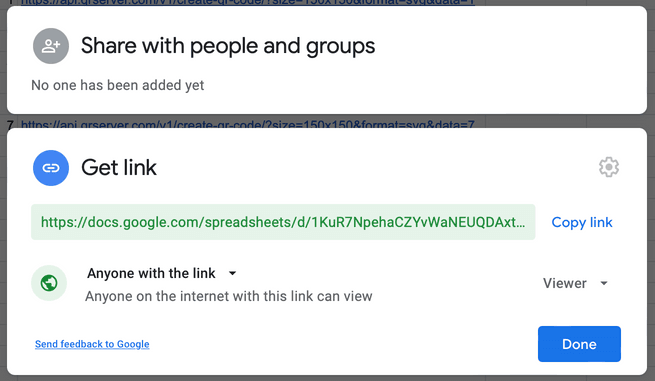
- Open guest list file in Google sheets.
- Click 'Share' in the top right of Google Sheets
- Click 'Change to anone with the link'
- Now click 'Copy link'
-
Select the ""@#list" autolayout layer.
-
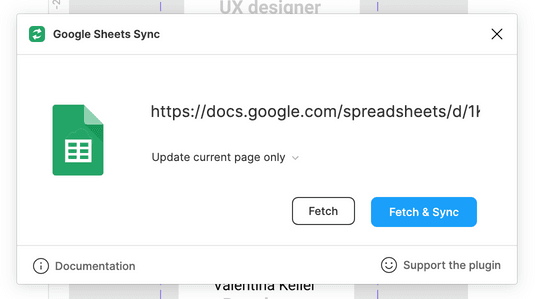
From Figma menu, click Plugins > Google Sheets Sync
-
Paste the share link, keep option "Update current selection only"
-
Click 'Fetch & Sync'
Voila! You have your guest list synced to the same number of badges, in proper templates, with unique QR codes.
Finish: Email or Print
For sending Email, you can export these badges to PNG files and include them in your email.
For printing, depending on the paper size, you may group badges into multiple sheets using the unit conversion above. Then export eacth sheet to PDF files and print them.
You can send me Email if any questions. I'd like to help out!